
To display the Wide Warehouse Scheduler:
Micronet displays the Wide Warehouse Scheduler screen.
|
|

|
Technical Tip If more than 5000 records are to be displayed, Micronet displays a message telling you how many records there are and asking if you want to continue. To reduce the number of records displayed, you need to make selections in the Select Status Filters screen – refer to "Selecting the Picking Slips to View (v2.8)". |
Micronet displays the Sort Columns screen.
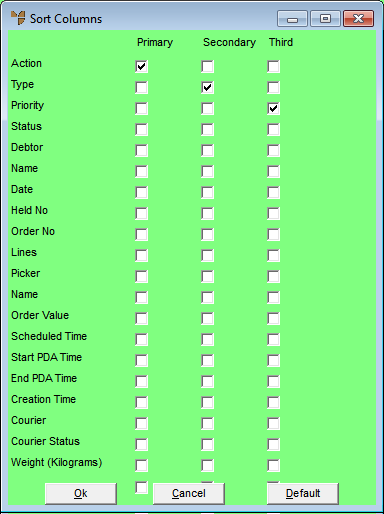
For example, to display transactions:
Micronet redisplays the Wide Warehouse Scheduler with the transactions displayed in the new sort order. The transactions will continue to be displayed in this order until you change the order again.
|
|
|
Technical Tip You can quickly change the order in which transactions are displayed by double clicking on any column header. For example, you can double click on the Priority column header to display picking slips in priority order, or you can double click on the Debtor column header to display the transactions in debtor number order. The transactions will continue to be displayed in the last selected order until you change the order again. |
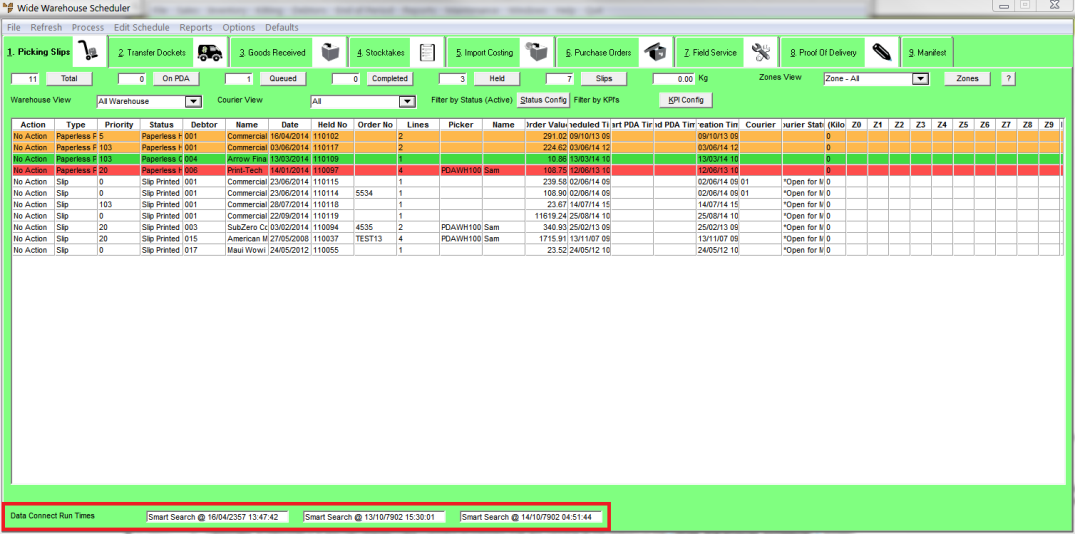
To set the Data.Connect processes you want to view, you need to set the number in the ScheduleWarehouseDataConnect1, 2 and 3 Registry/profile settings. For more information, refer to "Distribution".